Come experience our STEAM programming at the Laguna Niguel Public Library The Fourth Wednesday of every month!
Registration now open for all ages summer session programming. Register at yourirvine.org and at rec.wva.org
Let's Make a Circle Flower
Step by step instructions for making a circle flower, as taught in our papercrafting curriculum
H. Maas
4/21/20254 min read
Let's make a circle flower and embellish it!
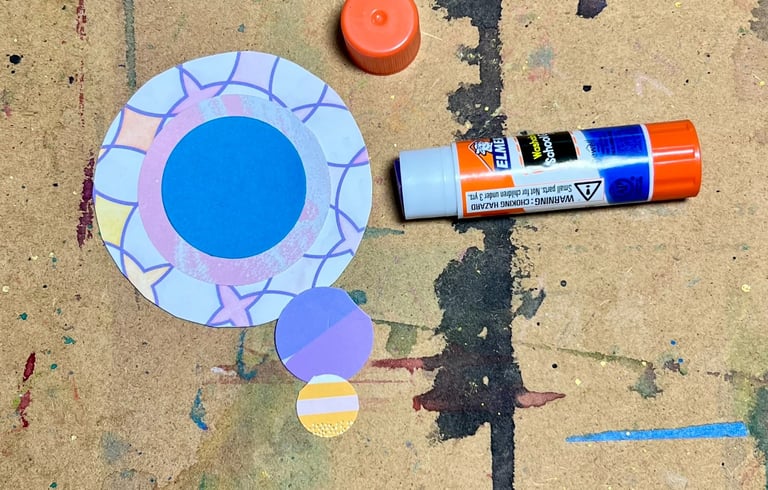
Supplies:
a paper straw
2 large cardstock or heavy paper circles
4 smaller circles in graduated sizes (each one a little smaller than the next one)
glue (I like glue sticks for this project-- less mess, easier for smaller hands to navigate)
materials to embellish this could be markers, crayons, color pencils, stickers, stick-on acrylic gems, additional pieces of paper to make petals or leaves.
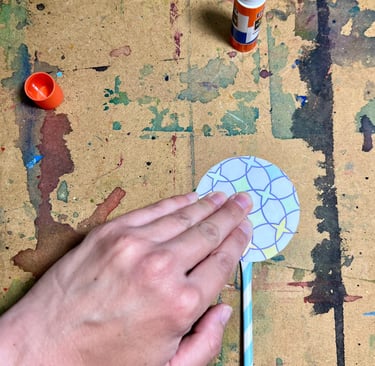
Step 1:
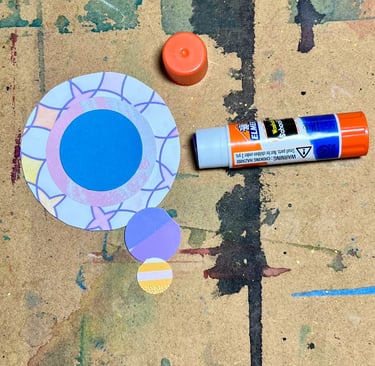
Keep the paper straw, embellishment materials, and one of the two largest circles to the side.
Start with the remaining large circle, face up on your work surface. Glue the next smallest circle on to the face of this circle.

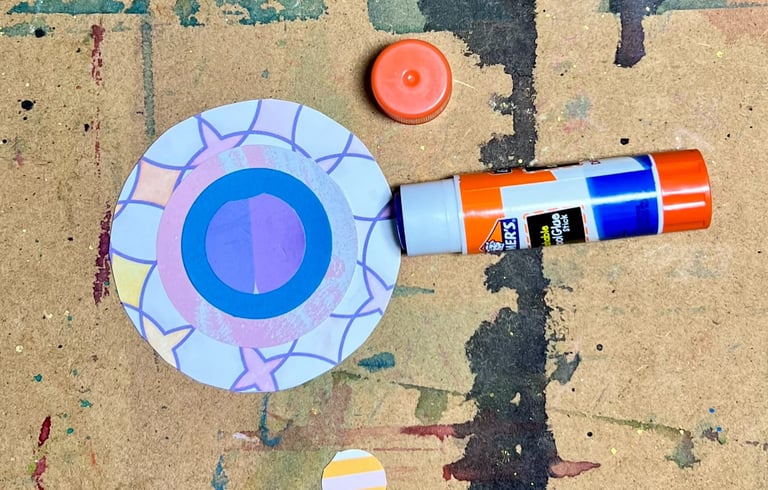
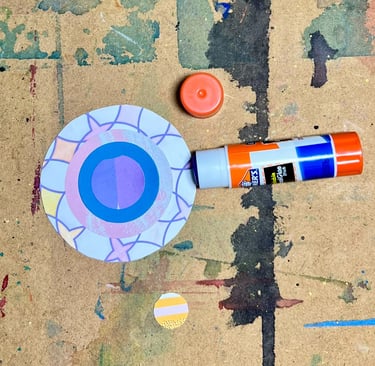
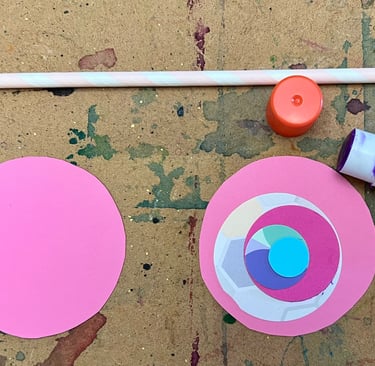
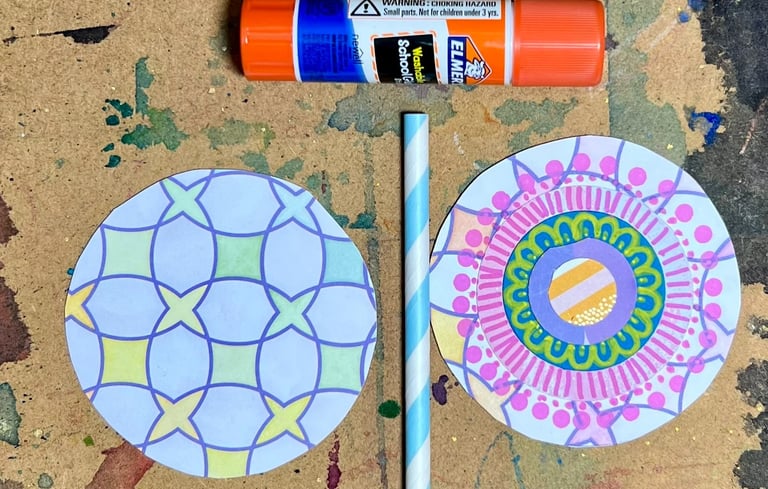
Step 2:
Glue each smaller circle on top of the next until all the smaller circles are used. You have choices during this step: you can choose to center each circle on top of the other, or you can choose to stagger them for a more interesting look.
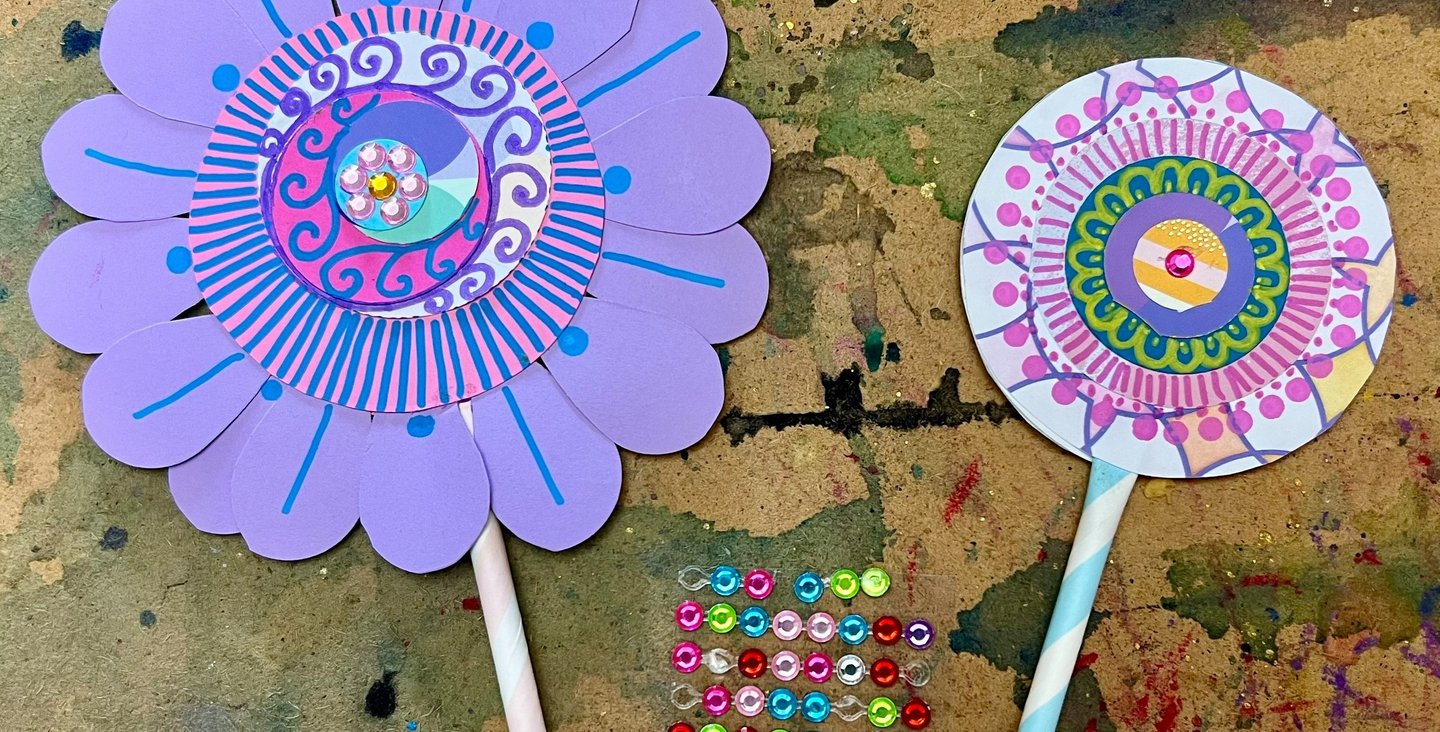
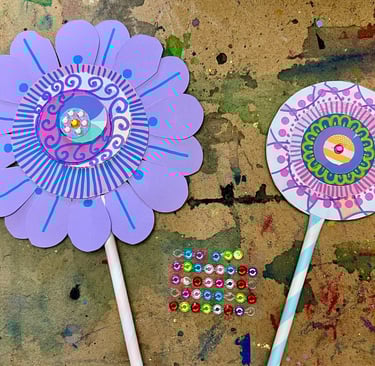
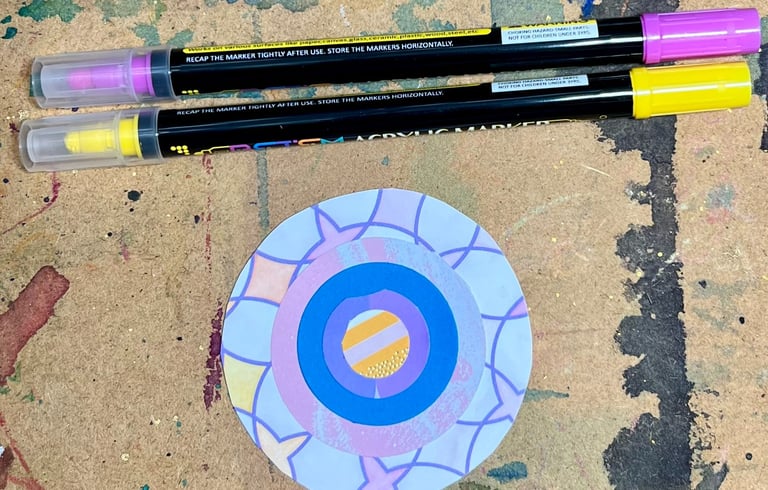
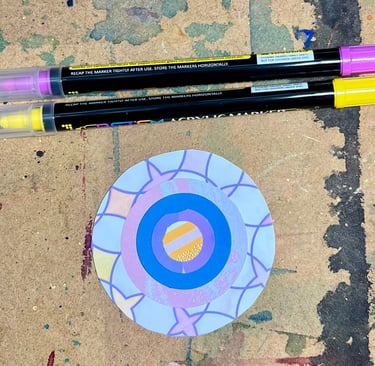
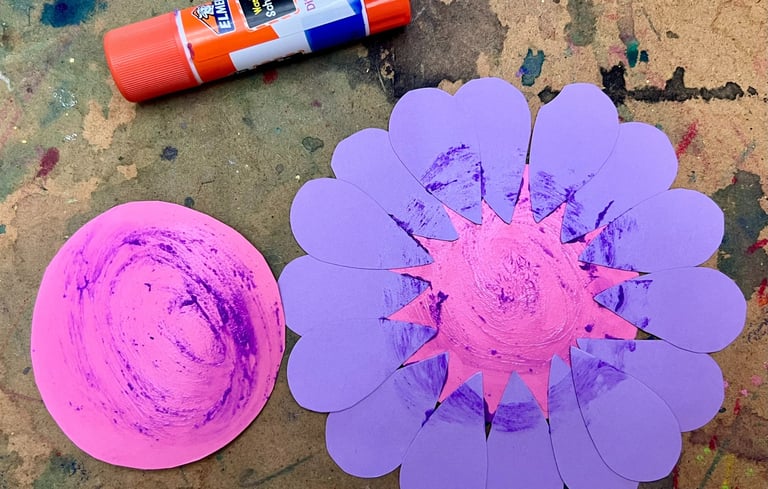
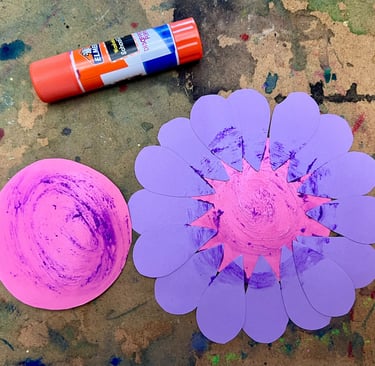
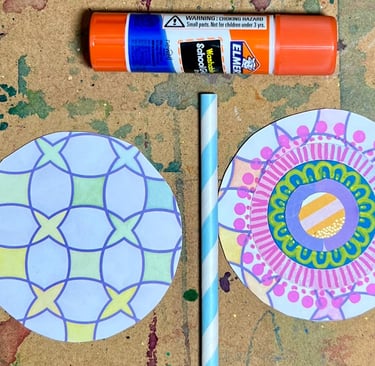
The bottom-most images below show circle flowers with the graduated circles glued together. The image on the right has the graduated circles staggered or offset. The image on the left has the graduated circles centered.
This is a good time to consider how you plan to embellish your flower. If you are using heavily patterned paper, you may not want to embellish. You may want to cut out flower petals during this step if you are planning to add them.

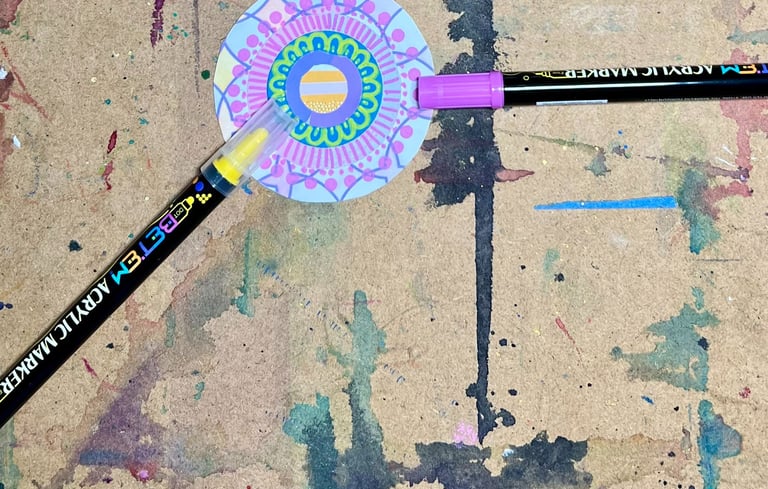
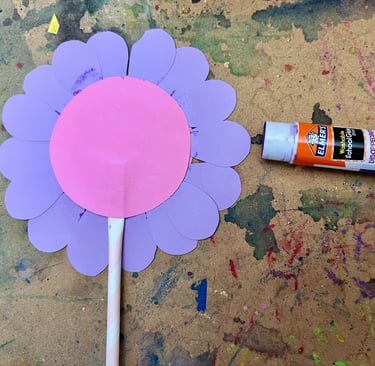
Step 3:
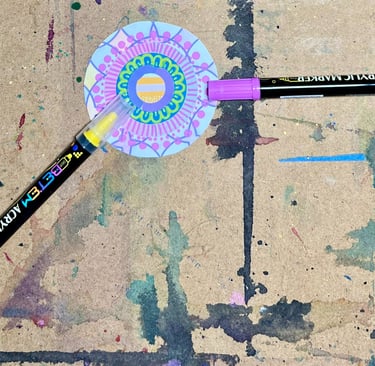
This is the time to embellish your circle flower IF you plan to embellish by drawing small repeating shapes on the face of your flower or by adding stickers. If you plan on adding acrylic stick-on gems, this embellishment can be done once the circle flower is fully assembled.
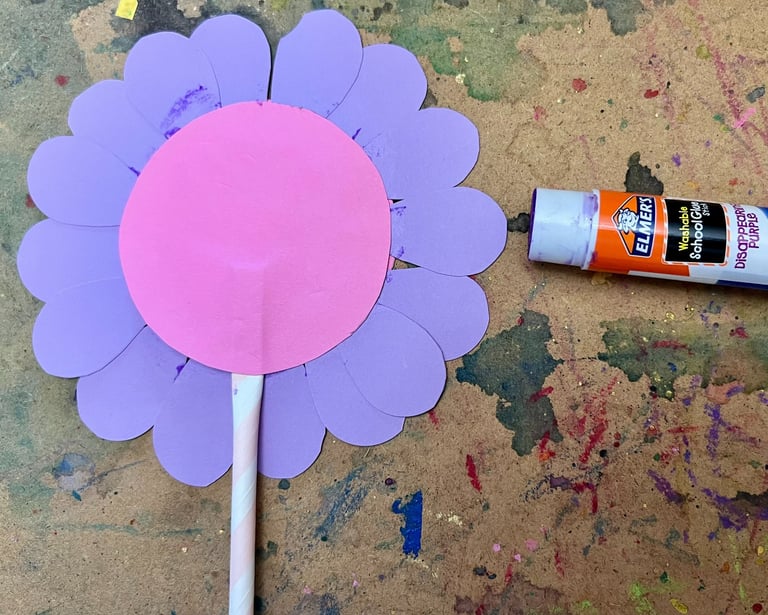
Step 4:
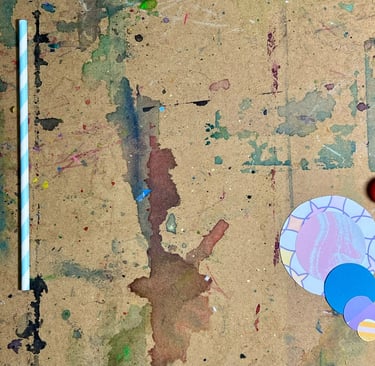
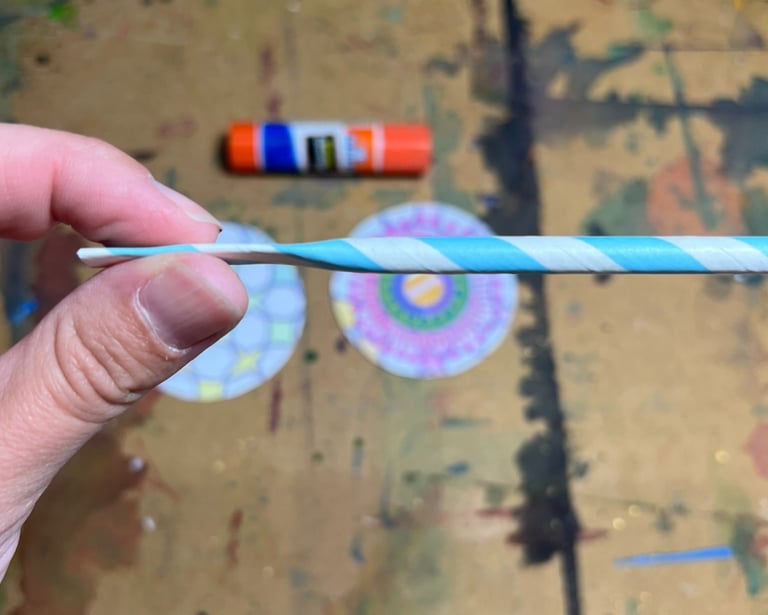
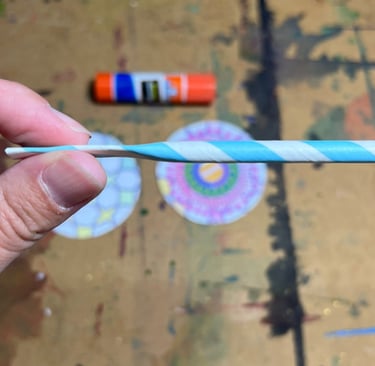
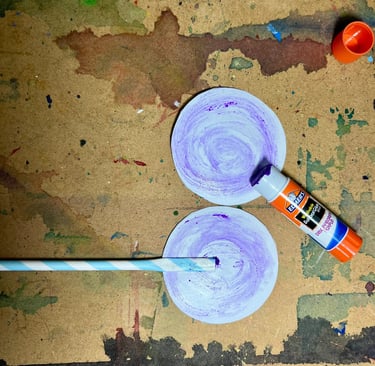
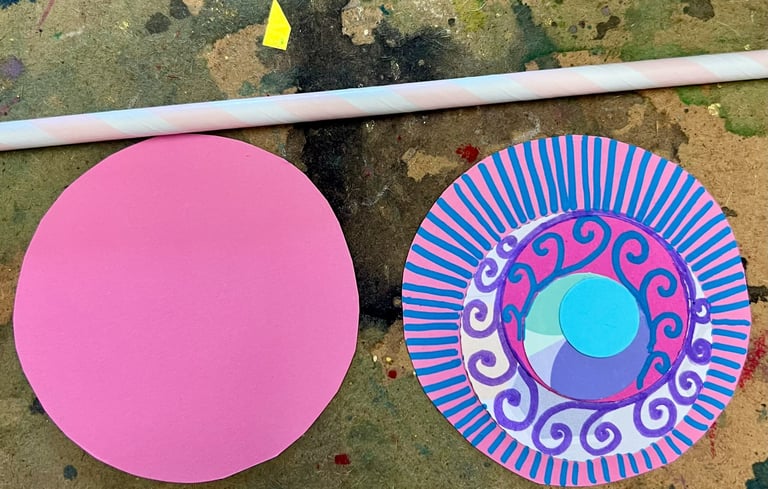
Now is the time to assemble your circle flower. For the next steps, you need the remaining large circle and the paper straw. Begin by pinching one end of the paper straw until it is flat. You will only pinch a 1-2 inch (3-6 cm) section flat.
Step 5:
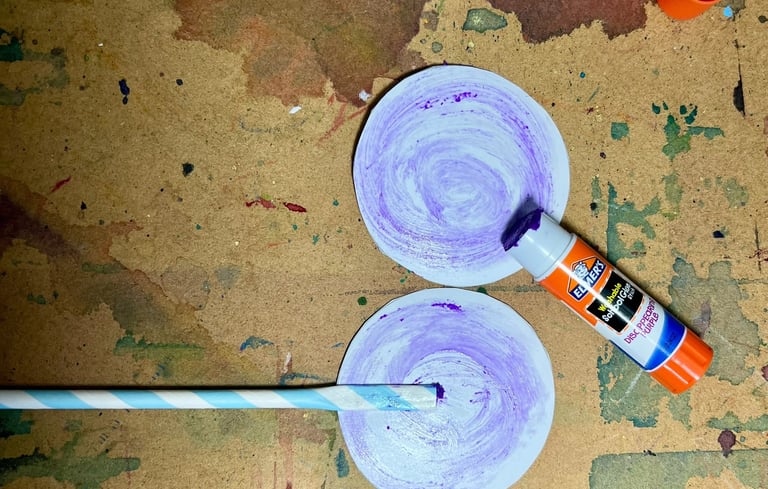
Apply glue to the back sides of the large circles and to either side of the pinched portion of the paper straw.
If you are planning on embellishing with paper flower petals, you will glue them on to the back side of the large circle with the graduated circles glued to its front side.
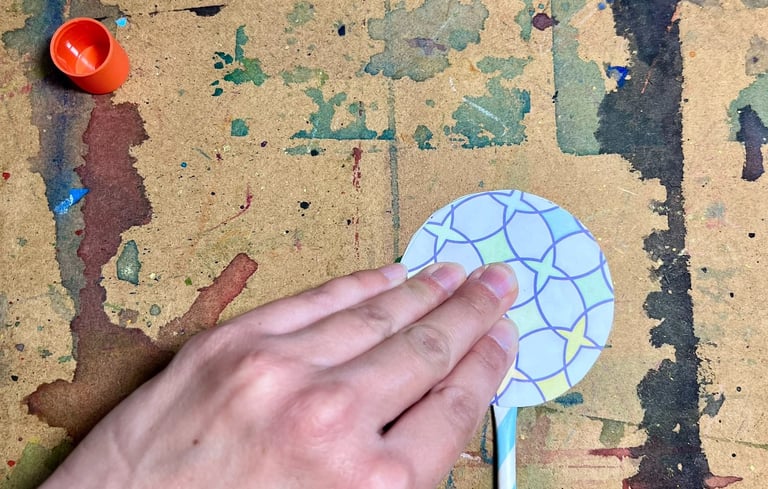
Lay the paper straw, flattened portion down, on the back side of one of the large circles. Lay the remaining large circle, glue side down, on top of the other circle and paper straw, like a sandwich. Press firmly and allow to dry.
Once this is complete, you can embellish with acrylic stick-on gems.

Tips and Tricks:
I did not hand cut these circles. I used graduated sizes of analog circle punches. There are also electronic cutting machines, such as the Cricut, available in craft stores that will make this craft much easier, especially if you are making many circle flowers. That said, you can also cut out your circles by hand if you do not have circle punches or a cutting machine. When I make much larger sizes for which I do not have corresponding punches, I round up some willing friends, trace a bunch of circles in the desired sizes, and have a cutting party.
If you choose to embellish with paper flower petals, make sure you embellish the flower petals before gluing them down. You can do it after gluing, it is just a little more difficult to get straight lines or intricate patterns once they are glued, especially if they are overlapping.
Once the petals are glued down and the glue is dry, you can always dress the petals by gently bending or curling them to give them a more textured appearance.
Uses:
I use these circle flowers for just about everything: as fancy cake toppers, as gift tags on presents, as bunting (glued on to ribbon or colorful yarn instead of paper straws), as place cards for formal place settings, as fairy wands for dress up, or as paper bouquets.